Volume and Surface Area City


Description of Cricut Lesson & Activity
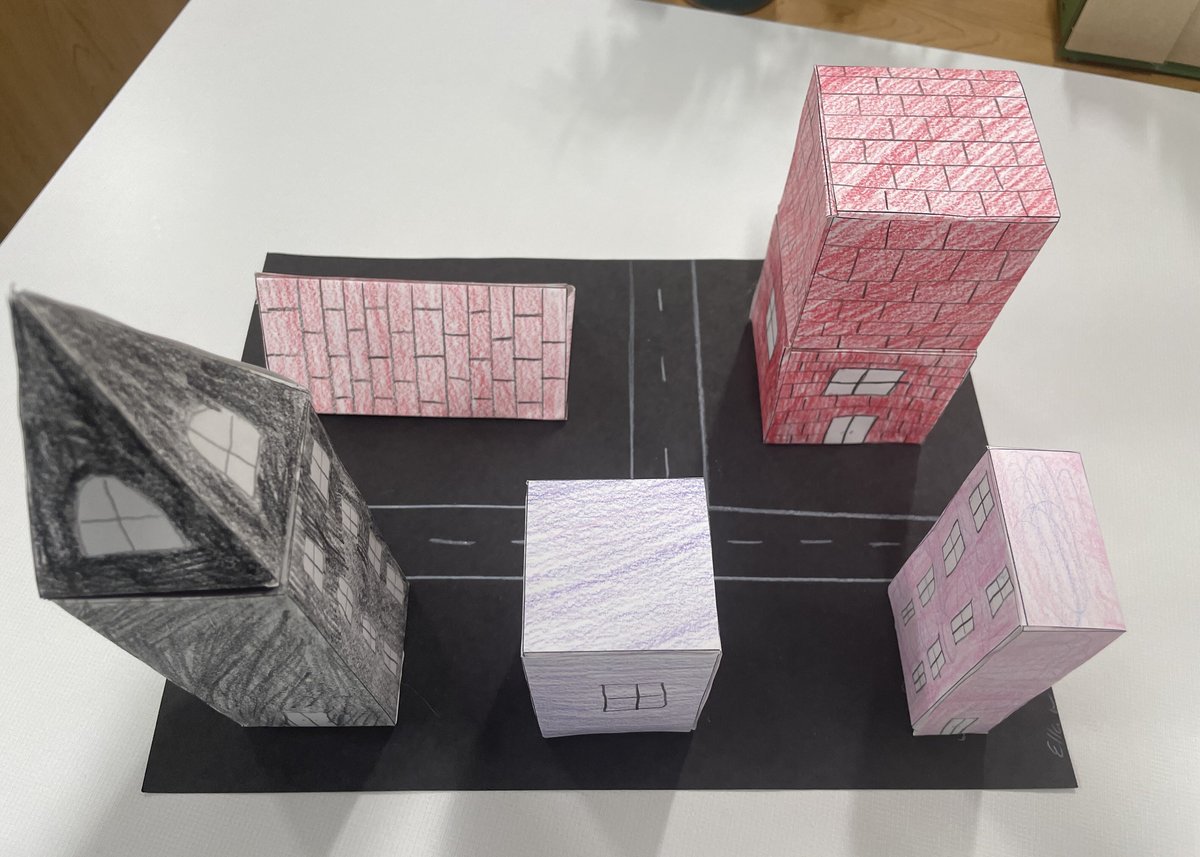
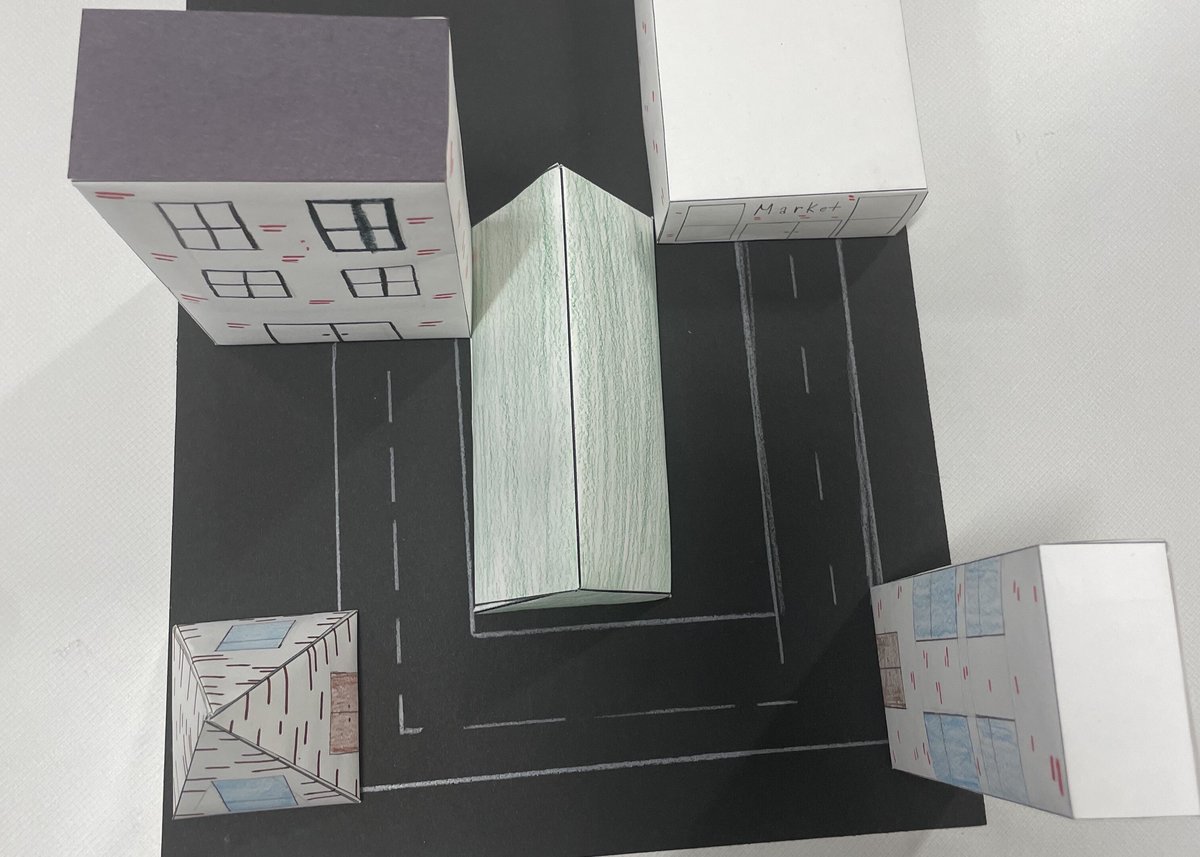
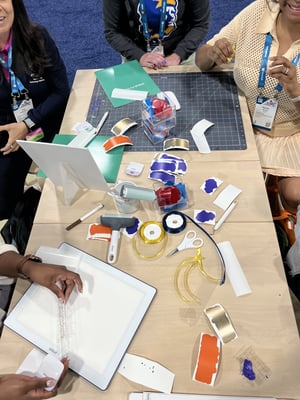
Students will use Cricut to cut out a variety of foldable 3D shapes. They will use those shapes to design a city. Once designed, students will calculate the volume and surface area of each building.
- Arithmetic
- Arts and Crafts
- Design and Technology
- Mathematics
ISTE Standards
- 1.1 Empowered Learner
1.1a Learning Goals
1.1d Technology Fundamentals - 1.2 Digital Citizen
1.2.a Digital Footprint - 1.3 Knowledge Construction
1.3.a Effective Research Strategies - 1.4 Innovative Design
1.4.a Design Process
1.4.b Design Constraints
1.4.c Prototypes - 1.5 Computational Thinking
1.5.a Problem Definitions
1.5.b Data Sets - 1.6 Creative Communication
1.6.a Choose Platforms or Tools - 1.7 Global Collaborator
1.7.c Project Teams
State / Local / Other Standards
Understand concepts of volume and surface area.
Apply mathematical reasoning in real-world contexts. Engage in the design process through creative expression.

For full project details, open in Cricut Design Space.
Click Here
For full project details, open in Cricut Design Space.
Click Here
Click Here
For use in your classroom, download full lesson plan.
Download Here

For full assessment rubric, download here.
Download Here
Learning Objective(s)
- SWBAT design and build a 3D city using shapes provided in the Cricut Design Space.
- SWBAT calculate the volume of a 3D shape.
- SWBAT calculate the surface area of a 3D shape.
Materials Required
- Student packets
- Access to Cricut Design Space Construction paper
- Scissors
- Glue
- Rulers
- Markers/colored pencils Calculators (optional)
Instructions
Lesson Outline
Day 1: Introduction to 3D Shapes and Planning
Introduction (10-15 mins)
- Discuss the concept of 3D shapes (cubes, rectangular prisms, cylinders, cones, spheres).
- Show examples of buildings that use various shapes.
Mini City Design (30 mins)
- Instruct students to sketch their mini city on page 2 of their packet.
- Remind them to include a minimum of 5 buildings, utilizing a mix of the 3D shapes discussed.
Group Discussion (10-15 mins)
- Share designs with a partner and provide feedback.
- Encourage students to think about how their buildings might look in real life.
Day 2: Preparing for Construction
Choosing Shapes (15 mins)
- Model how to search for images in Cricut Design Space.
- Guide students in selecting the 3D shapes they will use from the Cricut Design Space images.
Cricut Design Space (30 mins)
- Demonstrate how to add shapes to their workspace.
- Allow students to explore the software and prepare their designs.
Cutting Shapes (15 mins)
- Supervise as students send their designs to the Cricut machine for cutting.
- Help students remove their shapes from the cutting mat.
Day 3: Building and Designing the City
Assembly (30 mins)
- Distribute cut shapes and construction paper.
- Instruct students to assemble their buildings, adding windows and doors creatively.
Calculating Surface Area and Volume (30 mins)
- Guide students through the calculations using the formulas for surface area and volume.
- Have students fill in the tables on pages 3 and 4, showing their work on pages 5-6.
Day 4: Finalizing and Presenting the Mini City
Total Calculations (20 mins)
- Instruct students to calculate the total surface area using the appropriate formula for each shape.
- Instruct students to calculate the volume using the appropriate formula for each shape.
- Instruct students to calculate the total surface area and volume of their entire mini city and record it.
Presentations (20-40 min) *OPTIONAL
- Allow students to prepare a short presentation of their mini city, explaining their design choices and calculations.
- Students present their mini cities to the class, highlighting creativity, math skills, and what they learned throughout the process.
Assessment
- Evaluate student designs for creativity and adherence to the project guidelines.
- Assess calculations for accuracy and completeness.
