Water Cycle Shaker Card

Description of Cricut Lesson & Activity
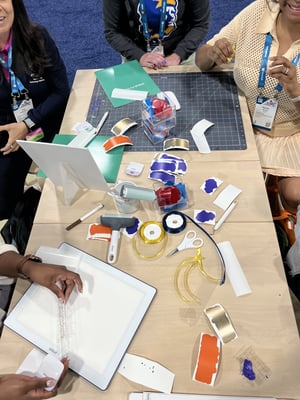
Have students create this fun shaker card to learn about the water cycle. Students will glue the water cycle arrows in the correct areas to learn about how the water cycle works. Optional, use sticker paper to print the arrows so students can stick to the shaker instead of gluing.
- Science
ISTE Standards
- 1.1 Empowered Learner
1.1a Learning Goals
1.1b Customized Learning Environments
State / Local / Other Standards
Next Generation Science Standards (NGSS): 3-ESS2-1 - Represent data in tables and graphical displays to describe typical weather conditions expected during a particular season.
Common Core State Standards (CCSS): W.3.2 - Write informative/explanatory texts to examine a topic and convey ideas and information clearly.
Common Core State Standards (CCSS): W.3.2 - Write informative/explanatory texts to examine a topic and convey ideas and information clearly.

TOUCH
Project in Cricut Design Space
For full project details, open in Cricut Design Space.
Click Here
Project in Cricut Design Space
For full project details, open in Cricut Design Space.
Click Here
Click Here
TOUCH
Lesson Plan
For use in your classroom, download full lesson plan.
Download Here

TOUCH
Lesson Rubric
For full assessment rubric, download here.
Download Here
Learning Objective(s)
- Students will be able to describe the stages of the water cycle and explain how water moves through the environment.
Materials Required
- Printer
- Cricut Maker 3
- StandardGrip mat
- White Kraftboard
- Printable Cardstock
- Clear Acetate
- Optional, Printable Sticker Paper
Other tools and materials:
Blue Pen
Glitter
Glue
Instructions
- Use your machine to print then cut materials, and draw and cut image pieces.
- Stack the ring pieces and glue together to make the spacer for the shaker opening.
- Save the ring with the written phrase on it for above the acetate.
- Glue the stacked ring to the round base with the scene printed on it.
- Fill with glitter and glue the acetate to the top of the stack of rings.
- Add the last ring to the top of the acetate to create a frame.
- Glue water cycle arrows to correct areas to show how the water cycle works
Assessment
- Students will create a labeled diagram of the water cycle, identifying and describing each stage (evaporation, condensation, precipitation, and collection) in their own words.
Download Rubric Here
